With Integrations we define separate concerns within your environment like plain linux / windows machines or virtualized solutions like VMware vSphere.
Checking your account status
First things first.
- Go to System Status page on your left navigation menu.

- Verify that all status checks are reported to be successful as in the following illustration -

- If any of these check out with an error we encourage you to reach out to us immediately.
Enabling an Integration
Now once you navigate to the Integrations menu you will find the available integrations. A particular integration can be enabled by following a step-by-step guide once which is presented once you expand the description.
For Linux Integration
Once you have retrieved your telegraf.conf configuration you are ready to follow a few simple steps to enable it.

You may now return to the Integrations page and activate it. Once you do so take a look at the connection indicator changing from orange to green if everything works well.
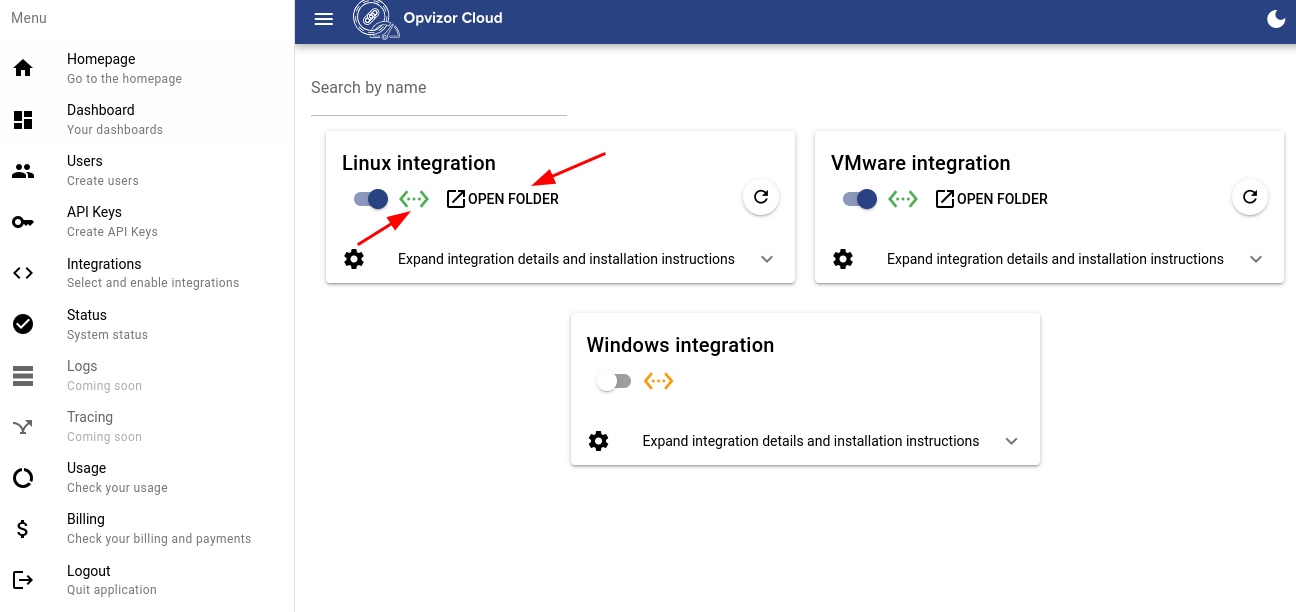
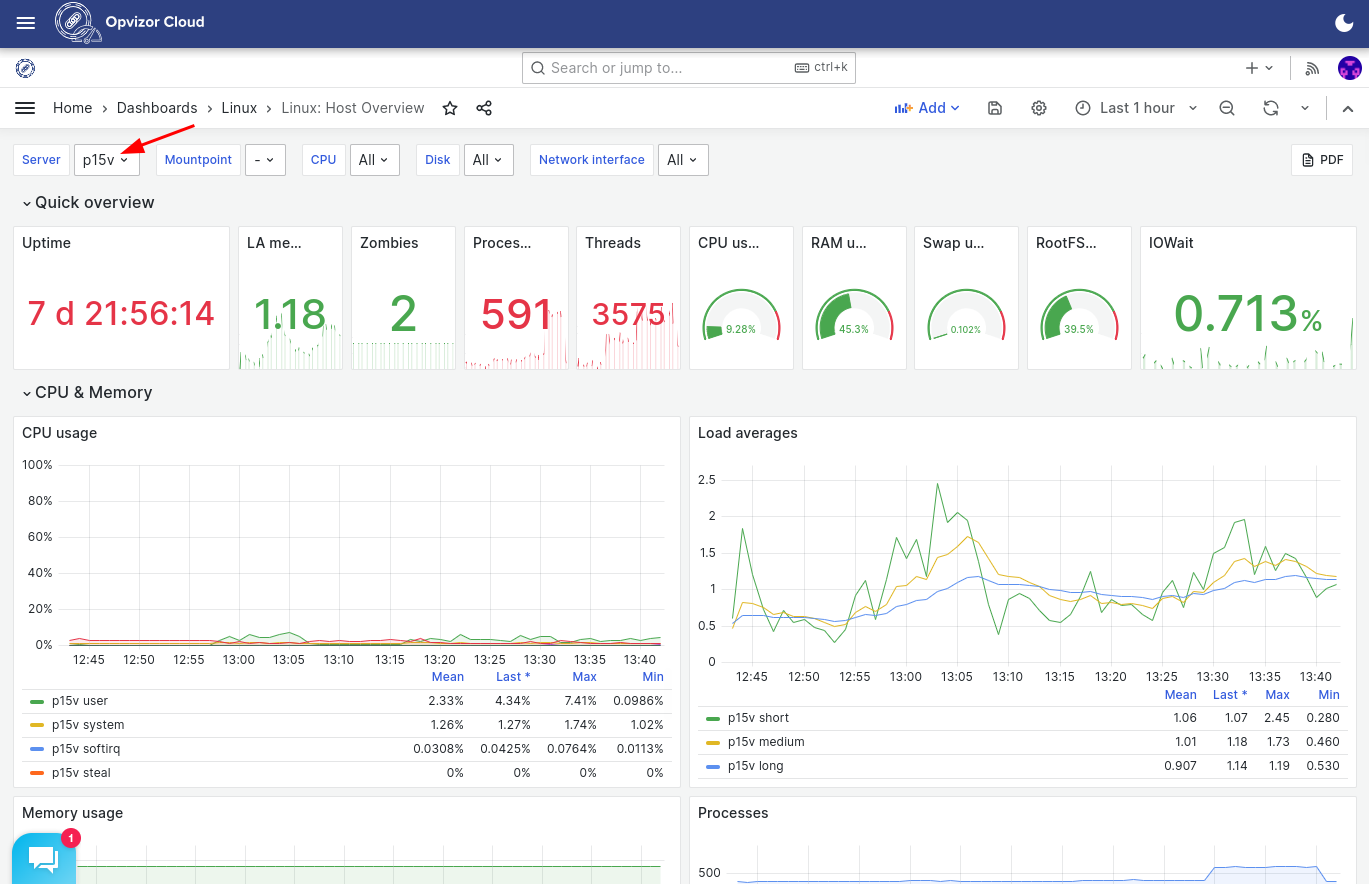
Clicking on "OPEN FOLDER" will take you directly to dashboards related to the integration.
Once the data is available on the dashboards you can start to explore. You will find most of the dashboards equipped with filter panel allowing you to select specific resources.
For VMware Integration
Start with downloading the docker-compose.yml configuration. You will also need to setup the docker-compose itself. Once you are done with the installation you will need to adjust a few environment variables and fire it up.
Used Network Ports
All metrics from your environment to Opvizor Cloud services are shipped via HTTPS (port 443)