Adding a New VMware vCenter
- Click the opvizer icon > Dashboards > Home
- From the First Steps dashboard, click Jump to Admin Page.
- The Overview Page appears.
- Click Infrastructure > VMware.
- The VMware screen appears.

- Click Add new vCenter button.
The Add vCenter window appears. 
- Enter the:
- Host IP address
- Host username and password
- Click Add button.
The new VMware vCenter is added - Btw. we detect VMware vSAN automatically if available.
Editing a vCenter
- Click the opvizer icon > Dashboards > Home
- From the First Steps dashboard, click Jump to Admin Page.
- The Overview Page appears.
- Click Infrastructure > VMware.
- The VMware screen appears.

- Click the green Action button
 Edit button.
The vCenterEdit window appears. - Edit the:
- Host IP address
- Host username and password
- Click the Save button.
The vCentre is changed.
Testing a vCenter
You should test your vCenter connection before looking at the dashboards.
- Click the opvizer icon > Dashboards > Home
- From the First Steps dashboard, click Jump to Admin Page.
- The Overview Page appears.
- Click Infrastructure > VMware.
- The VMware screen appears.
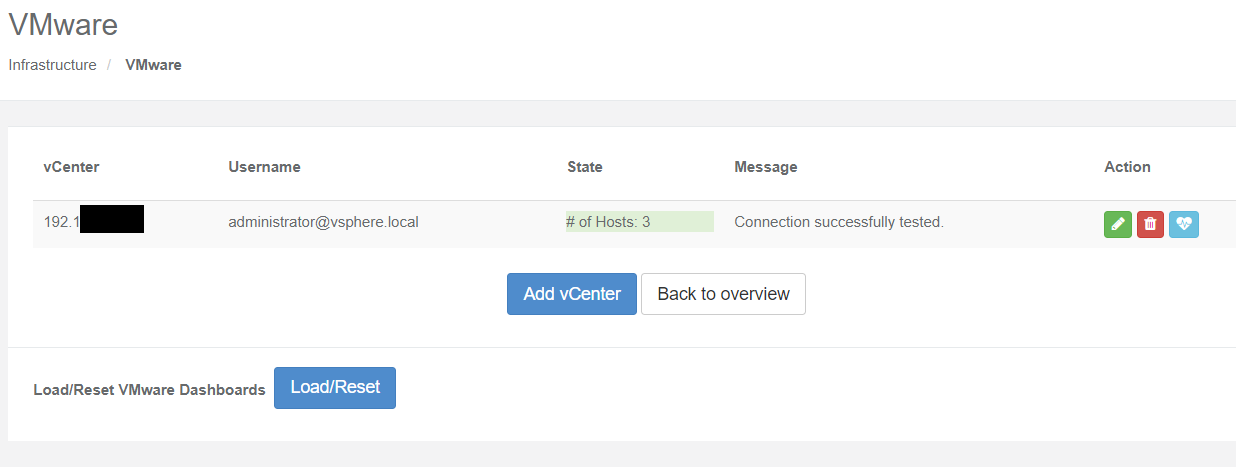
- Click the blue Action button
 Test button.
If the test is successful a green success message appears.
Deleting a vCenter
You need to create a new VMware vCenter before you can begin to analyze your VMs.
- Click the opvizer icon > Dashboards > Home
- From the First Steps dashboard, click Jump to Admin Page.
- The Overview Page appears.
- Click Infrastructure > VMware.
- The VMware screen appears.

- Click the red Action
 Detete button.
The vCenter is deleted.